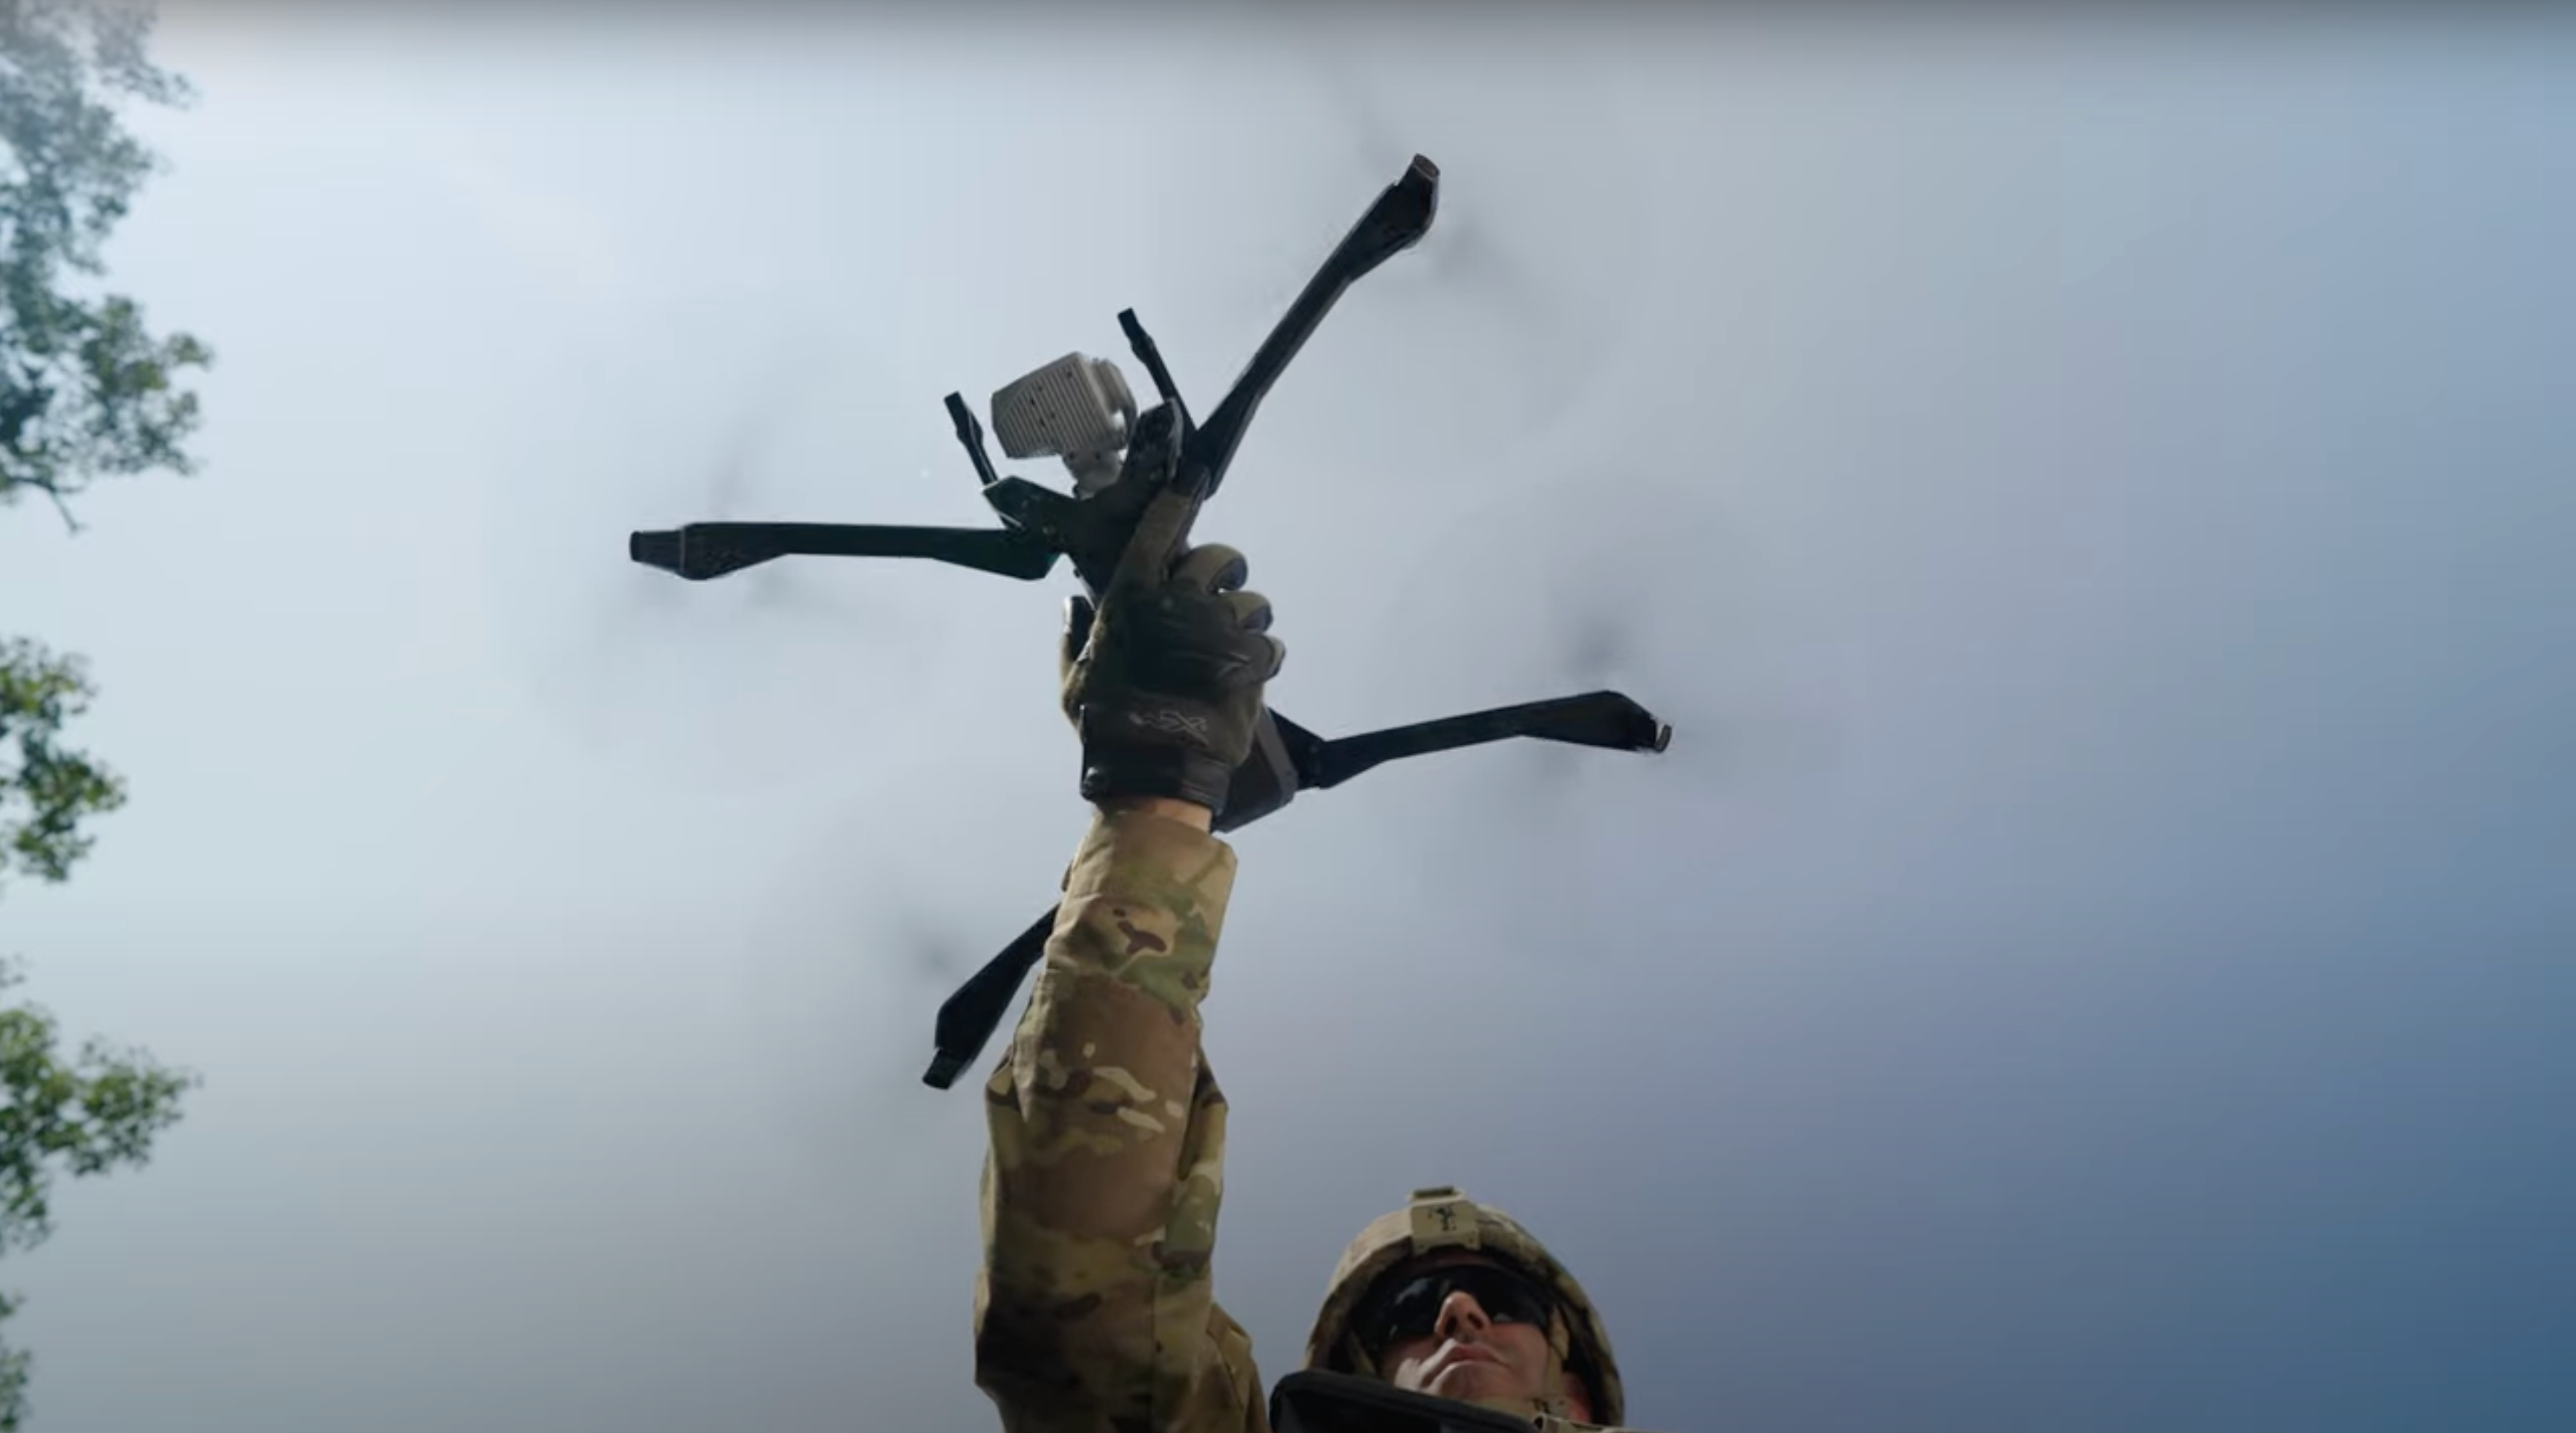
Ever since the launch of Skydio R1, Skydio’s Community has been fueling the majority of photos and videos seen across our social and marketing channels. In fact 95% of the content in the Skydio 2 launch video was captured by a handful of individuals who had Skydio 2 for only two weeks prior to the announcement. Enabling Skydio’s customers to create incredible content is not only engrained in the ethos of Skydio, but it is also a large part of what makes Skydio’s creative + social channels authentic and meaningful to our audience.
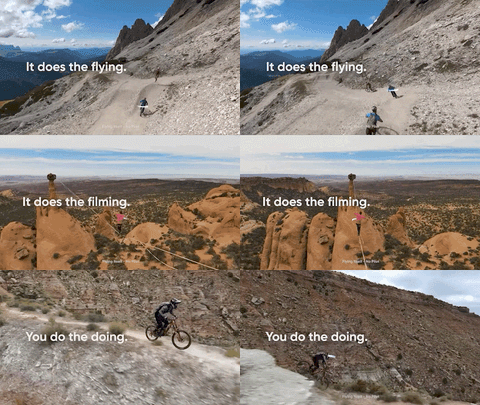
Since Skydio drones capture incredible footage autonomously with little direction or input from the pilot, we have never had large production teams or giant marketing budgets. In fact, we believe our community creates even more engaging content with Skydio’s products than any production team ever could. As our community grows, and as more customers share their favorite videos, we want to celebrate the very best Skydio 2 moments! To help you rise to the top, we are sharing our Top 10 Tips to help you become a #SkydioFeaturedFlyer so the rest of the world can appreciate your work as much as we do... Let’s jump into it!
1. Tag #Skydio and #SkydioFeaturedFlyer
This may seem obvious, but you would be surprised at how many people post Skydio 2 videos and photos without tagging us. Hashtags allow us to find the most recent Skydio 2 footage being posted and evaluate it for re-sharing or re-posting. If you aren’t at least tagging #skydio, then you are missing out on getting your posts featured and shared with the rest of the community.
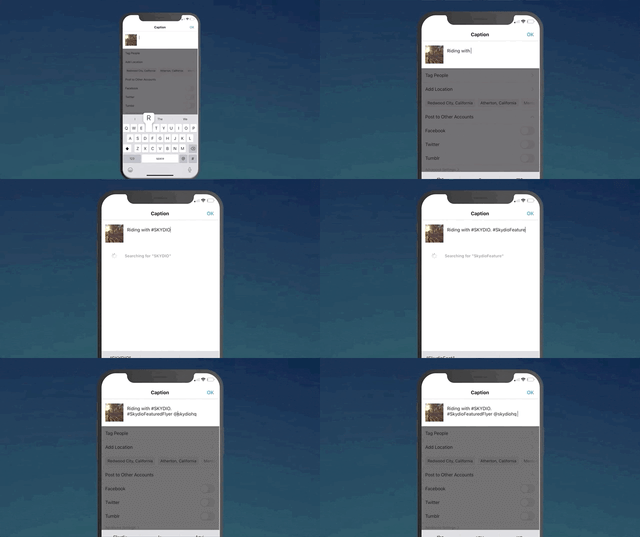
If you want to make sure your awesome footage is seen by our team, then you can also tag us directly in your videos on Instagram by tagging @SkydioHQ. This allows us to locate your footage even more quickly and easily. Not only do we love sharing content from the community, but we also want to engage/like your videos to help share our appreciation for supporting Skydio, make sure to tag us!
2. Post the best part of your flight
Attention spans these days are incredibly short, especially on social media. The average watch time for a video on Instagram is seven seconds, so if your edit is sixty seconds long and the best shots are hidden in the middle or at the end, it’s highly unlikely that anyone will see that epic landscape reveal, or your favorite cinematic orbit shot.
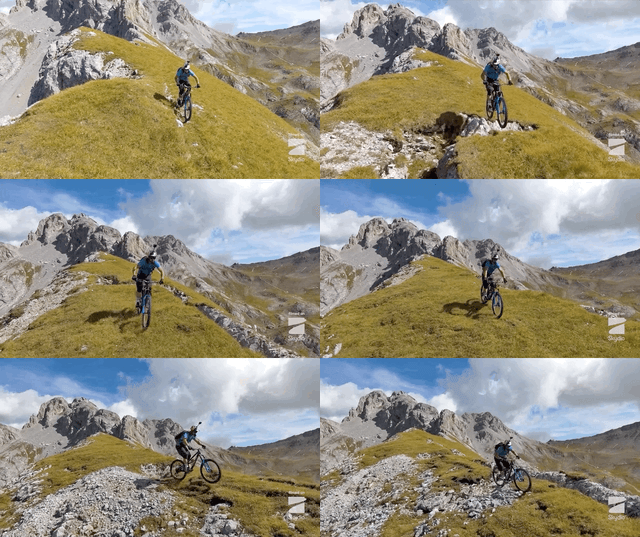
When posting an edit, make sure your best shots are at the beginning of the video and try to keep it short. If you have tons of great shots, try uploading your favorite moments individually or in a carousel instead of uploading a full three minute edit. If you are posting a single clip exported from the Skydio mobile app, keep this in mind and try to only export the best section of your flight and keep it as short as possible.
3. Make sure the subject is in frame
Since the majority of social media platforms are optimized for mobile, you might want to crop your 16x9 Skydio footage to 1x1 for Instagram (or potentially 9x16 for TikTok/IG stories) so you can utilize more of the screen to show off your footage. If you do this, your subject might not be in the frame for the entire shot since you cropped the edges of the 16x9 frame. We suggest either cutting the shot before the subject goes out of frame, or (for more advanced users) utilize an editing program like Premiere Pro to keyframe your footage so that the subject stays within the frame.
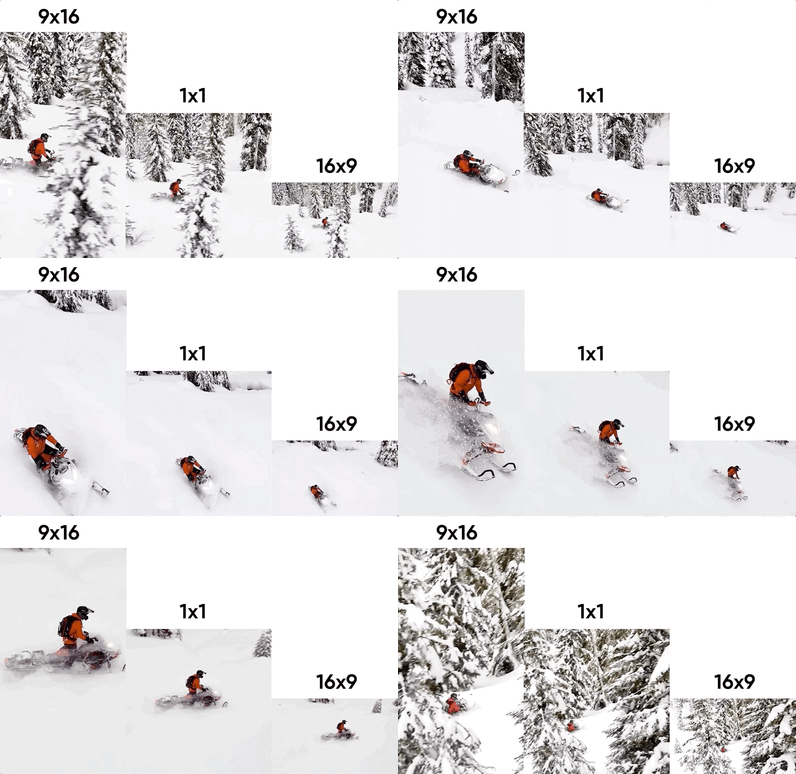
Keyframing is a more advanced post-production technique, but once you understand how keyframing works, you will want to take advantage of the fact that you can keep the subject in frame while utilizing more of the screen to show off your footage. Keyframing will be different based on the platform you are using, however there are plenty of awesome tutorials that will teach you this skill on whatever editor you prefer.
4. Utilize multiple modes and skills
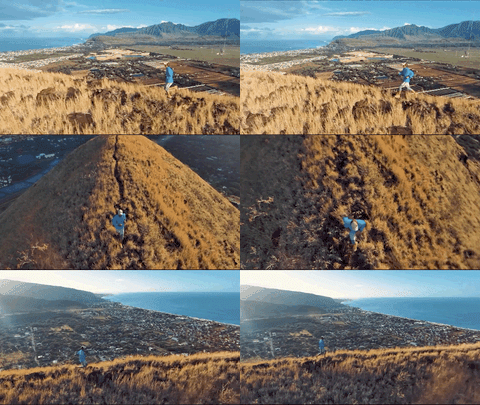
Skydio footage may look like a video game being a drone camera that follows you, which is pretty neat, but it is way more fun to mix up your camera angles and keep your audience guessing how you got so many diverse perspectives. If you are looking to make an edit of your adventure or just want to create some variety to your shots, make sure to try out Skydio 2’s handful of modes and skills. While there are many different modes to choose from, our favorite all-purpose tracking angle is Front mode. Front mode is not only great because you can capture your subject’s face, but it’s also a shot that no other drone can autonomously achieve.
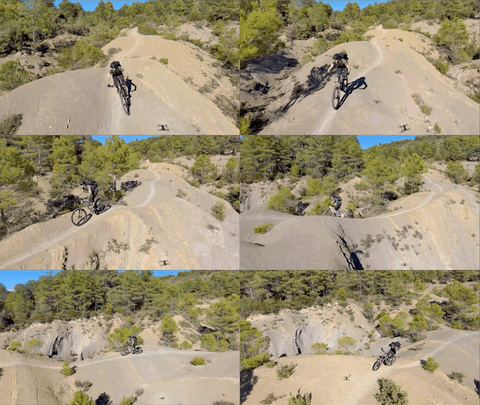
Even the most daring expert pilots struggle to fly backwards through obstacles, but since Skydio 2 has eyes in the back of its “head”, it’s not a problem. If you are flying with the Beacon, we also suggest utilizing the Instant-Dronie feature by double-tapping the blue Skydio button. Utilize this feature while you are riding, driving, or hiking in a scenic area that you would like to reveal.
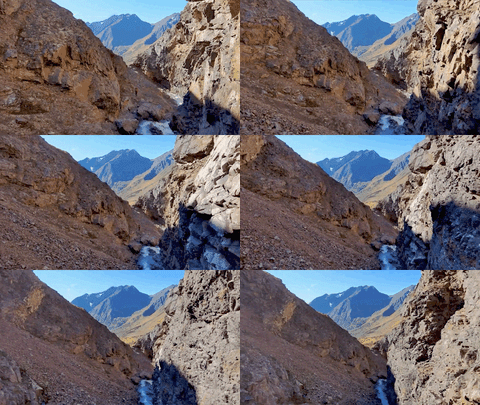
There are a host of other cinematic one-shots available when flying with the Skydio app, try them out in different scenarios to see which works best for you and your activity. If you want to break the mold and do something more interesting than following you for 20 minutes, definitely take advantage of these features to capture share-worthy videos.
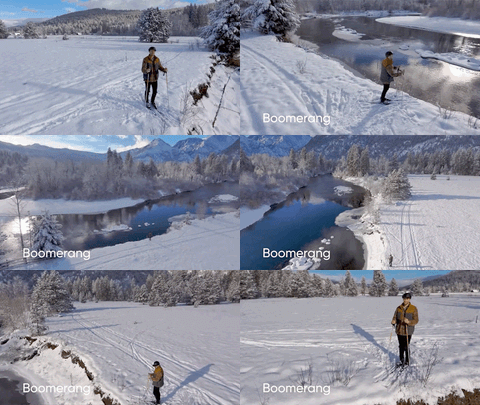
5. Make an edit to show off the best 30 seconds of your adventure
If you have a handful of awesome shots that go well together, you can make an edit from your flight to share the story of your adventure with family and friends. As we mentioned earlier, try to keep these edits short and sweet and only utilize the best shots.
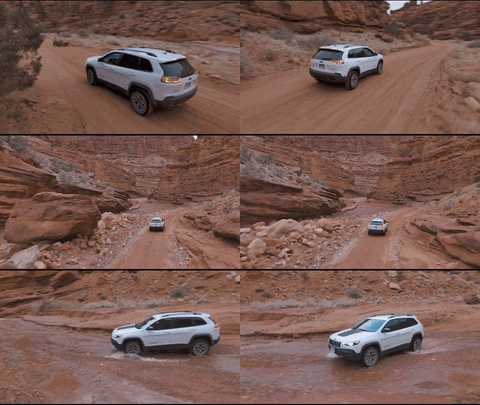
If you are new to editing, we suggest using either the Adobe Rush app or the Quik app (for mobile editing) or iMovie/Final Cut X (for desktop editing). Try and focus on keeping your edits simple. No need to “over-edit” by adding effects or text, let the footage shine and simply cut between the best shots. The most important thing we look for is the quality of the video itself, not the edit.
6. Use the Controller to film your friends
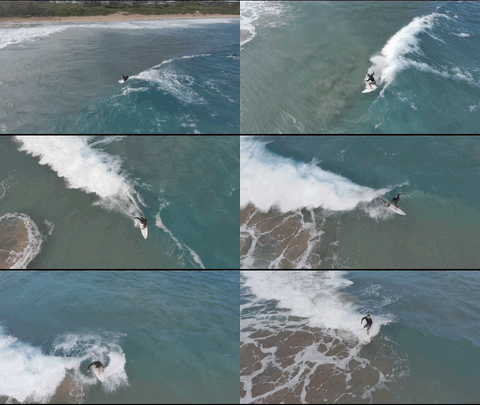
Skydio 2 is well-known for its ability to fly itself and capture your adventure autonomously, but with the Controller, you can also easily capture awesome footage of your squadmates. The Controller offers precision control over where the drone flies in relation to the subject as well as giving you access to Skydio’s cinematic one-shots like Vortex, Boomerang, Rocket and more.
Even if you’re not an expert pilot, you can capture completely new perspectives that most drones can’t achieve.
7. Use CableCam to capture the exact shot you want autonomously.
CableCam is probably the most powerful, yet underutilized feature of Skydio 2. Although CableCam takes a bit more creativity and preparation, the shots you can achieve will blow your mind. Unlike modes like “Motion Track” where you just tap on your subject and go, CableCam allows you to control the exact points where your shot starts and ends and where the camera is positioned at each point.
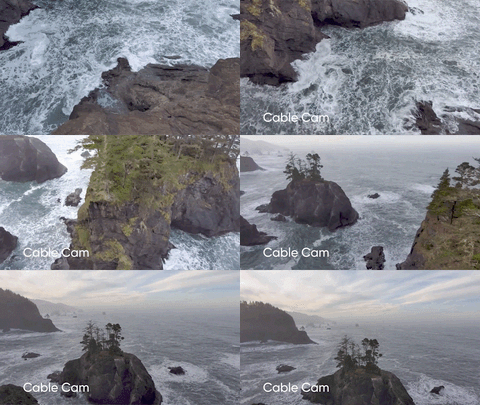
If you want a smooth shot revealing the landscape or a subject, just place your start and end point and Skydio 2 will transition between the two points. This way you can be the subject of the shot without your controller or mobile device in sight. There are three types of CableCam; Manual, Loop, and Tether which can be found in the settings menu once you have CableCam selected.
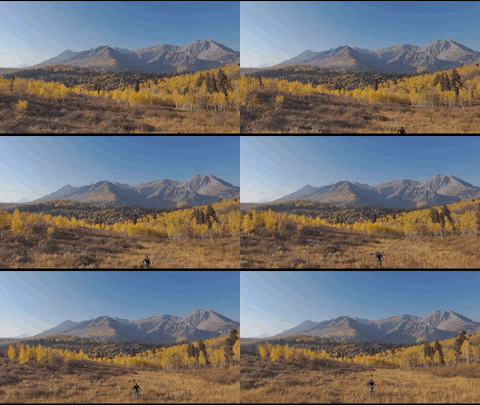
- Manual will perform the camera move once before you will need to activate it again, sending it back to the first point.
- Loop will continue to fly from point A to point B until you cancel the shot.
- Tether will track a subject and only move further along the Cable if the subject is moving along the Cable.
8. Utilize different frame rates + resolutions
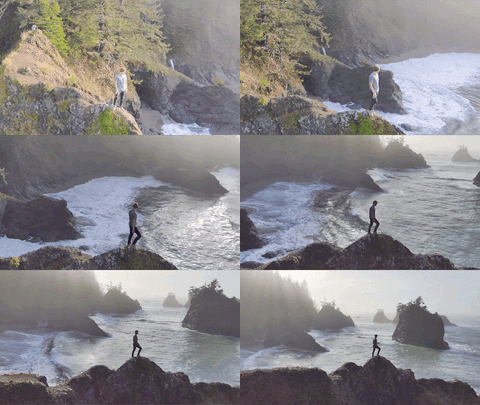
Skydio 2 will default to 4k/60 which will give you the best of both worlds when it comes to frame rates and resolution. Shooting in 4k will give you more room to crop or scale your video. This is extremely helpful if you want to get close to your subject as well as giving you more room to work with when keyframing your footage to fit on a mobile device.
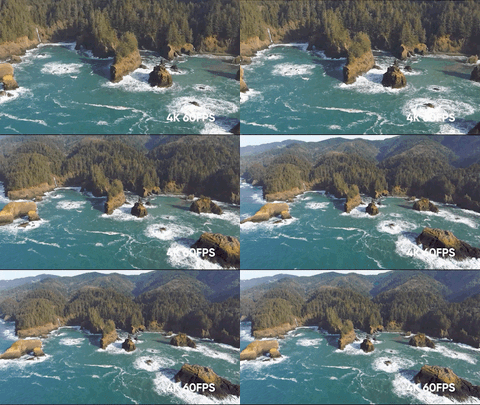
Most social media platforms will compress your footage to 1080p, so posting your full 4k videos won’t playback in their original resolution. Understanding this, you can make a 1080x1080 (square) timeline in your edit and scale your 4k footage up to either get closer to the subject or keyframe to keep the subject exactly where you want in the 1x1 or 9x16 frame.
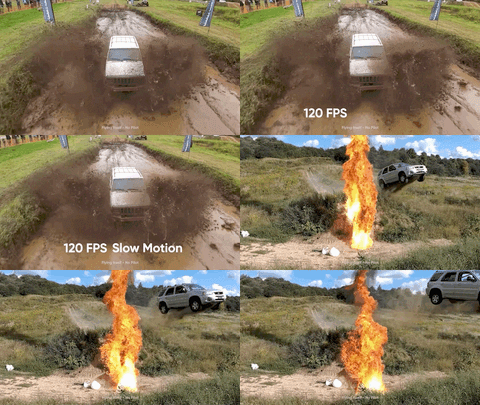
Shooting at 60fps will allow you to slow down your footage to 50% on a 30fps timeline, however if you are filming an activity with lots of motion (like cliff jumping) or lots of spraying particles (like 4x4 in mud/snow), then we recommend shooting at 1080p/120 to take advantage of Skydio 2’s super slow motion.. If you are shooting at 120 fps, you can slow down your footage to 25% (on a 30 fps timeline) for some buttery smooth super slow-mo.
9. Film in beautiful locations
We love sharing videos from customers that are out in the wild filming grand adventures, scenic landscapes and unique activities. Filming your bike ride through your neighborhood or local park is a great way to get started flying your Skydio 2 as long as you are abiding by our safety and operating guidelines, however if you want to become #SkydioFeaturedFlyer, you’ll need to take it to the next level.
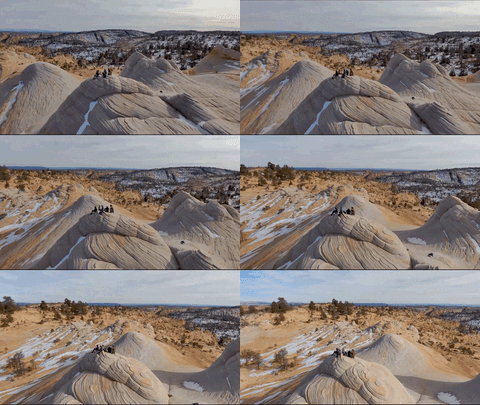
Planning a trip into the wild is not only a great way to capture stunning footage of your favorite activity, it’s also a great excuse to get out into nature. Skydio 2 does not have geo-zones limiting where you can take off, however we encourage our customers to do their own research to ensure they always stay safe and legal when adventuring outdoors. A great way to check the airspace of your proposed flight is the B4UFLY app.
Keep in mind that flying in National Parks (and some state parks) is strictly prohibited by the FAA. Breaking these rules can result in a hefty fine, so make sure to always be careful when deciding where to fly.
10. Abide by Skydio’s safety guidelines
First and foremost, all customers should read through our safety and operating guidelines to become familiar with Skydio’s best practices.
It is important to know that Skydio 2 should not be flown near wires, thin branches without leaves, or reflective surfaces like windows/mirrors/still water. If you are flying over bodies of water greater than 40 feet across you should make sure you have sufficient GPS signal, keep a close eye on battery levels, and turn on the height floor for additional security.
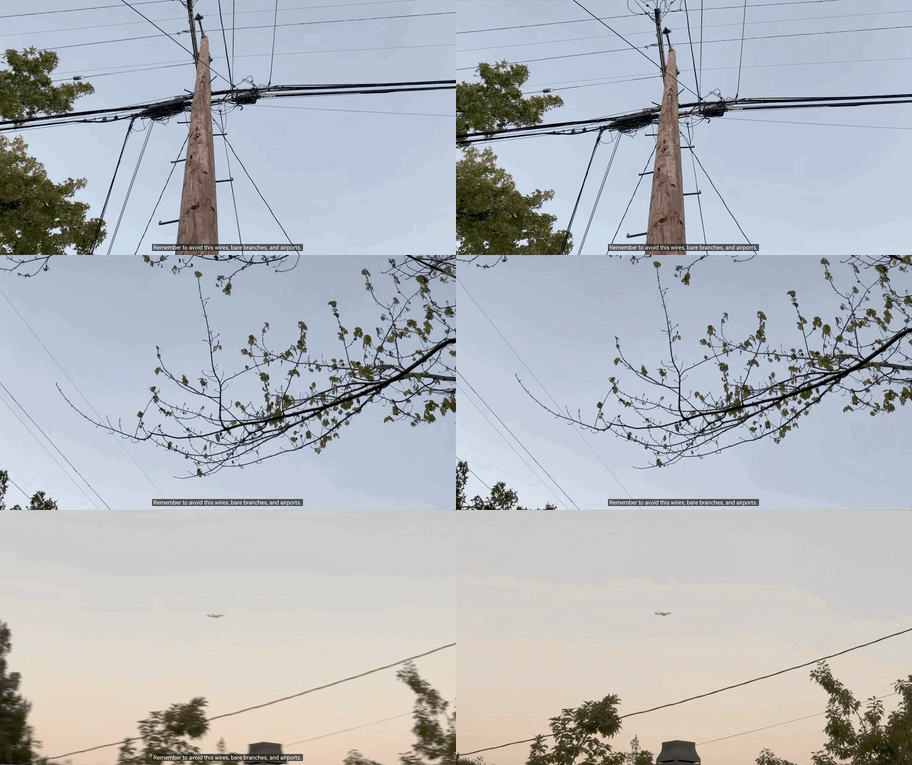
While your Skydio 2 may have dodged thin branches or wires without issue in the past, this is no guarantee that it will successfully be able to do so in the future. Skydio 2’s ability to identify and navigate around visually challenging obstacles is directly correlated to the speed it is flying and the lighting conditions, which can vary from flight to flight, so don’t take chances flying in these unpredictable environments.
Skydio will not re-share photos or videos from customers flying outside of our safety guidelines or in restricted airspace. Not to mention, flying outside of these guidelines will void your warranty in the event of a crash and nobody wants that!
---
And that’s everything you need to know to become a #SkydioFeaturedFlyer!
Follow these tips to bring you closer to having your content shared on @SkydioHQ’s social channels getting featured in an episode of Skydio Flight School, or unlock new opportunities to work with Skydio. Now get out there and fly safe!
Bonus Tip: If you want to capture the natural sounds of your adventure, or you would like to record a live voice-over during your flight, make sure to sync your audio post-flight by tapping the media tab before powering down your Skydio 2 or killing the Skydio 2 app. Capturing natural sound can add depth to your videos and tends to improve engagement. The only way to export clips with audio attached is via the Skydio 2 mobile app, otherwise you can find the audio files on your SD card when you plug it into a computer. For more details, check out this episode of Skydio Flight School.


